How to sew a comfortable facemask
As regular readers will know during the first lockdown last year Helen went into full mask production. This resulted in a terrible accident one day when I left my bathrobe near Helen’s sewing set up. Next minute she had chopped up my bathrobe and turned it into a mask! Obviously I was rather horrified, but to be fair she did buy me a new robe (and matching nightie) for Christmas.

Anyway, during this frenzy of mask sewing we did try out quite a few patterns at the time our favourite ended up being this one. However Melanie (our most regular mask wearer to date) prefers the ones that Helen makes based on a disposable mask - much more comfortable for wearing all day and easier to talk in. Given we’re all going to be wearing masks now I’ve made some instructions for you. There are photos at the bottom and I sewed using red thread so you can see what I did.
How to make a comfortable mask
If you happen to have a disposable mask then gently deconstruct it. Snip the top and take out the wire, clip the elastic off and unstick the folds.
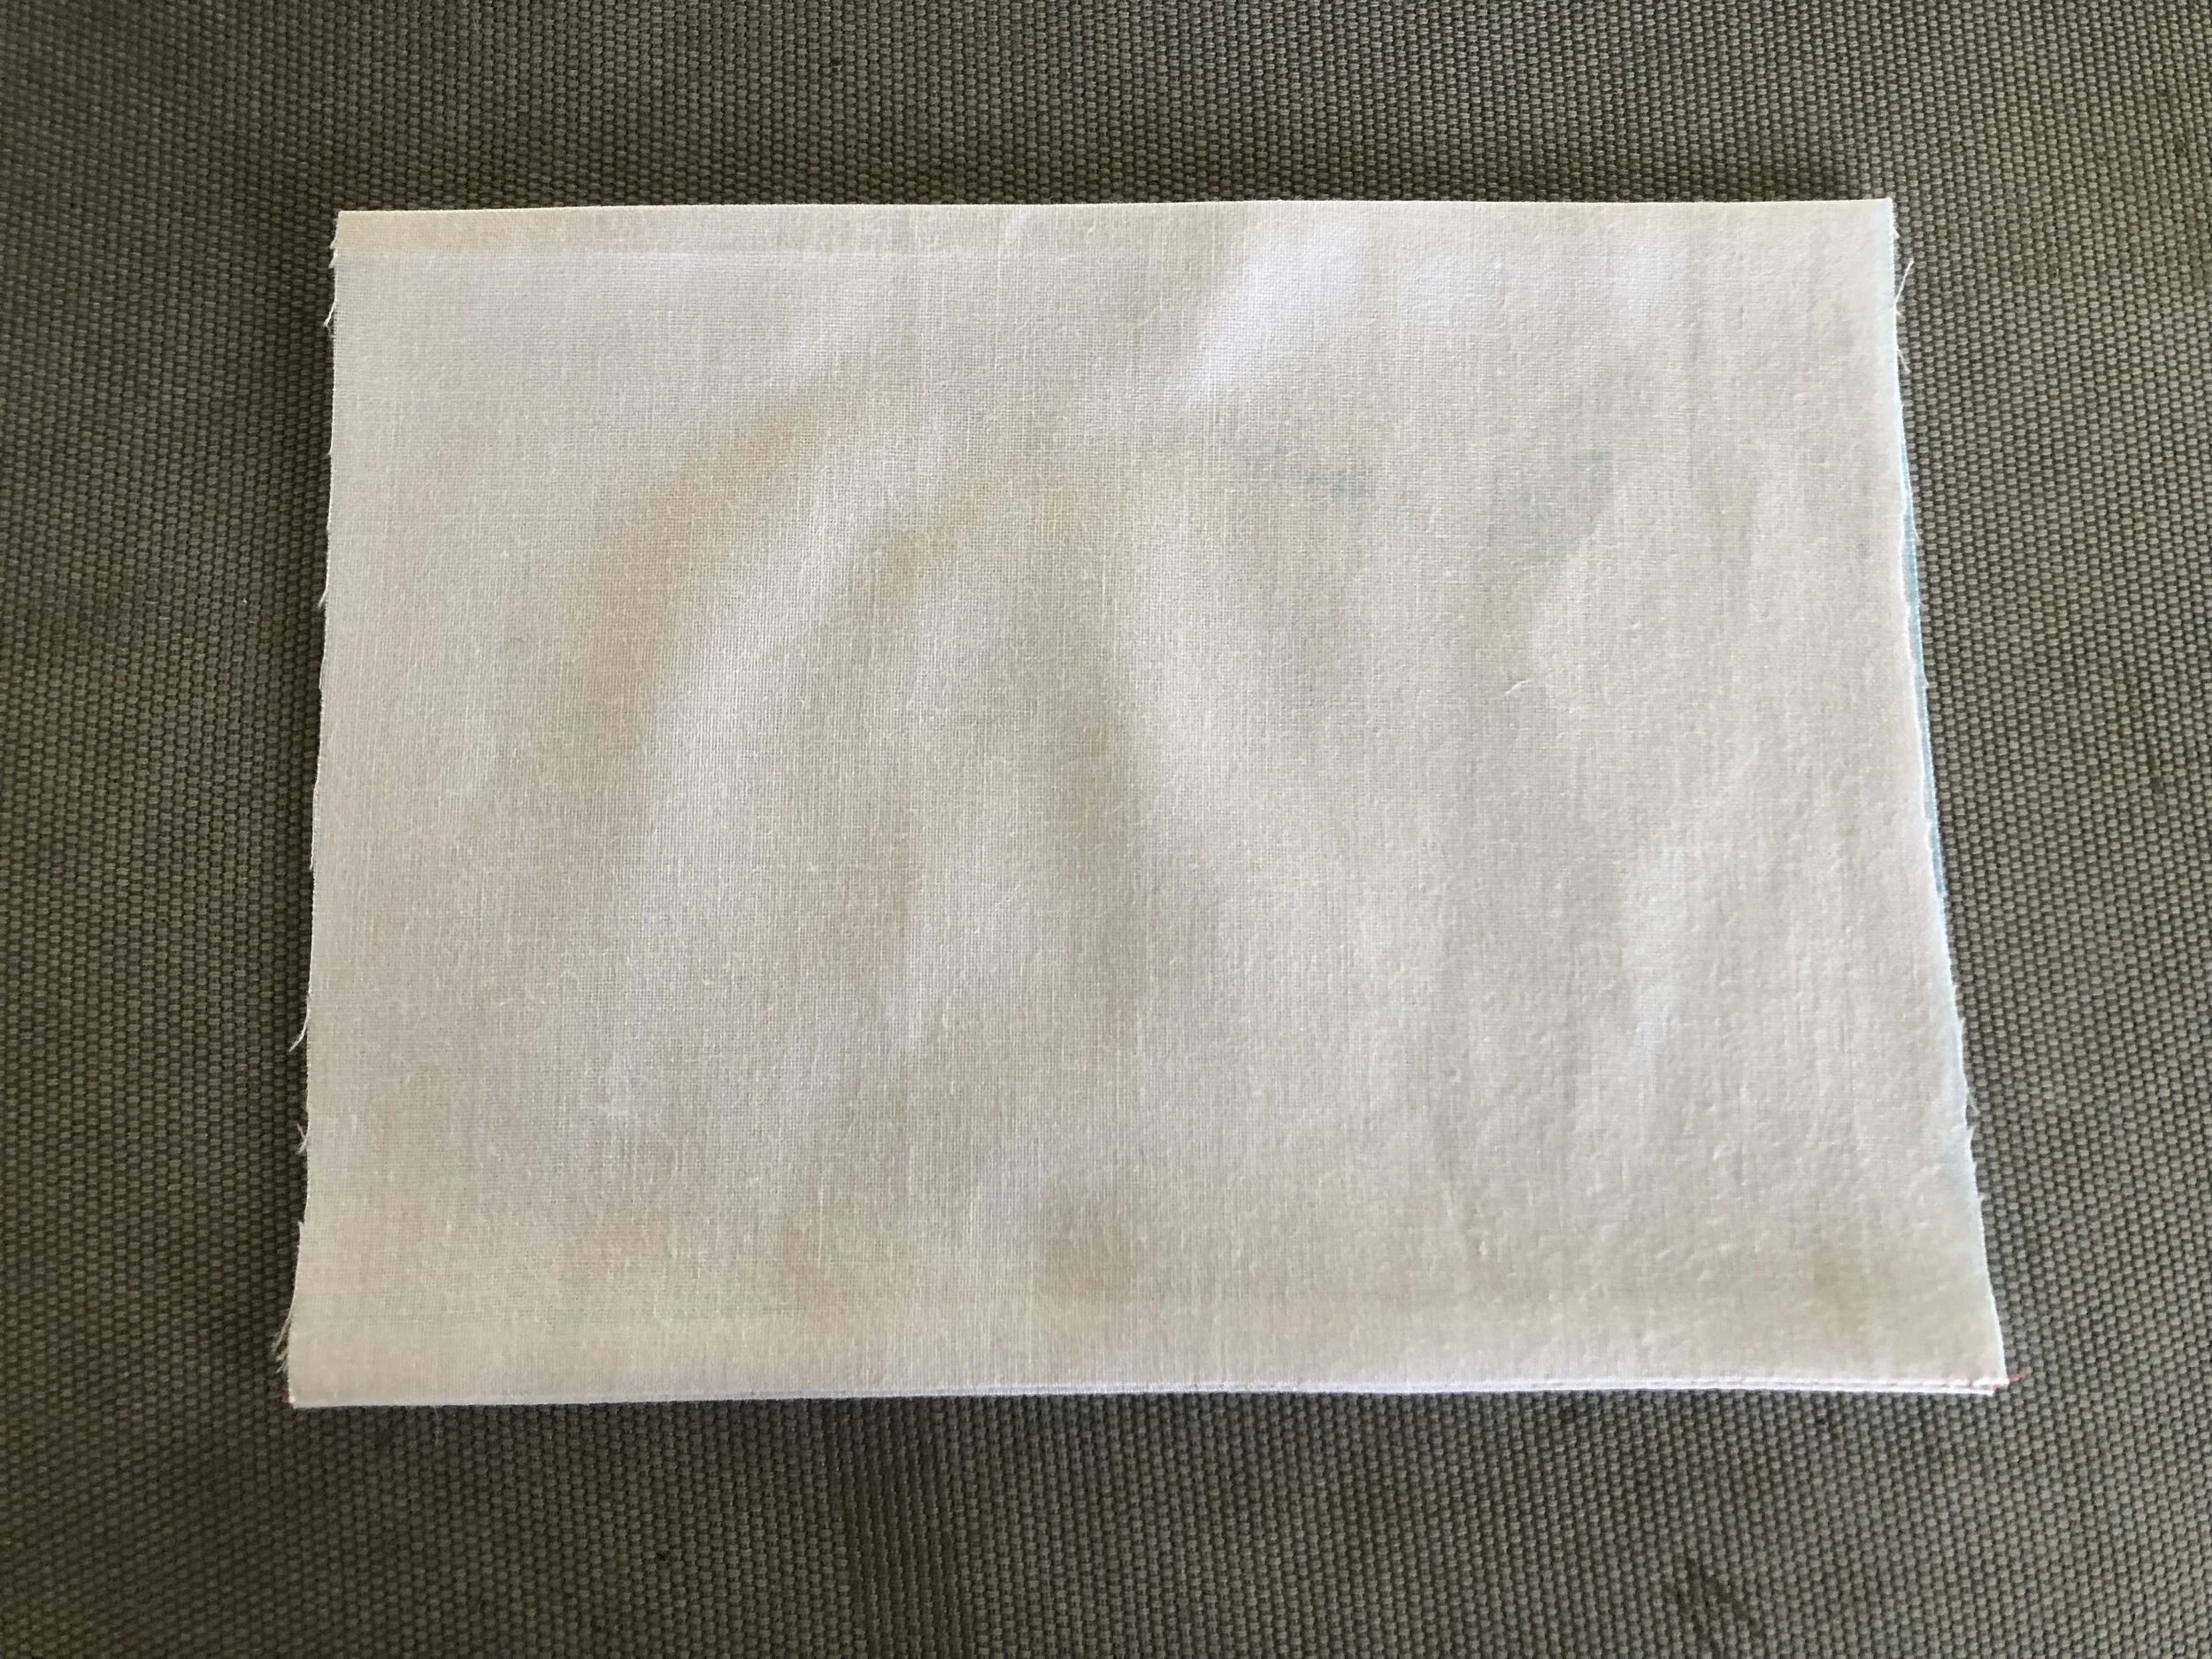
Cut a piece of fabric 32cm long and 20cm wide. If it’s patterned the longer piece will run up your face if that makes sense.
Iron the fabric in half wrong sides out and sew it together across the bottom with a 1cm seam allowance (this is usually the first mark out from your sewing machine foot).
Turn the fabric tube you’ve now made so the right side faces out and iron it so the seam is at the bottom.
Sew a line across the top of your mask (the end without the seam) one sewing machine foot wide. Push the wire from your mask or some gardening wire into this. It doesn’t have to be as thick as you might think - the ones inside the disposable masks are like bread bag ties if you remember those.
Now you need to make the folds in your mask. If you have a disposable mask unfold it and use this as a guide to mark on each side of the mask where to make the folds. Otherwise make marks for the folds at 4cm, 5cm, 7cm, 8cm, 10cm and 11cm from the top of the mask. The folds shouldn’t overlap with each other and should fold down from the top of the mask. Iron and pin the folds.
Sew down each side of the mask to hold the folds in place.
You have two options to finish the sides of your mask. Helen just zig zags down each side. I cut a piece of fabric 4cm wide and longer than the side of the mask. Fold this in half and then fold the sides in to create some binding. Fold the raw top end in and pin it down the side of the mask and fold the bottom edge in too. Stitch on the outer edge of the binding.
Time to attach the elastic. Reusing disposable mask elastic is excellent. Soft hair ties are very comfortable too. Otherwise two 15cm pieces of elastic (you may need to play with these lengths for larger heads). Attach to the top corners fo the mask. Finished!
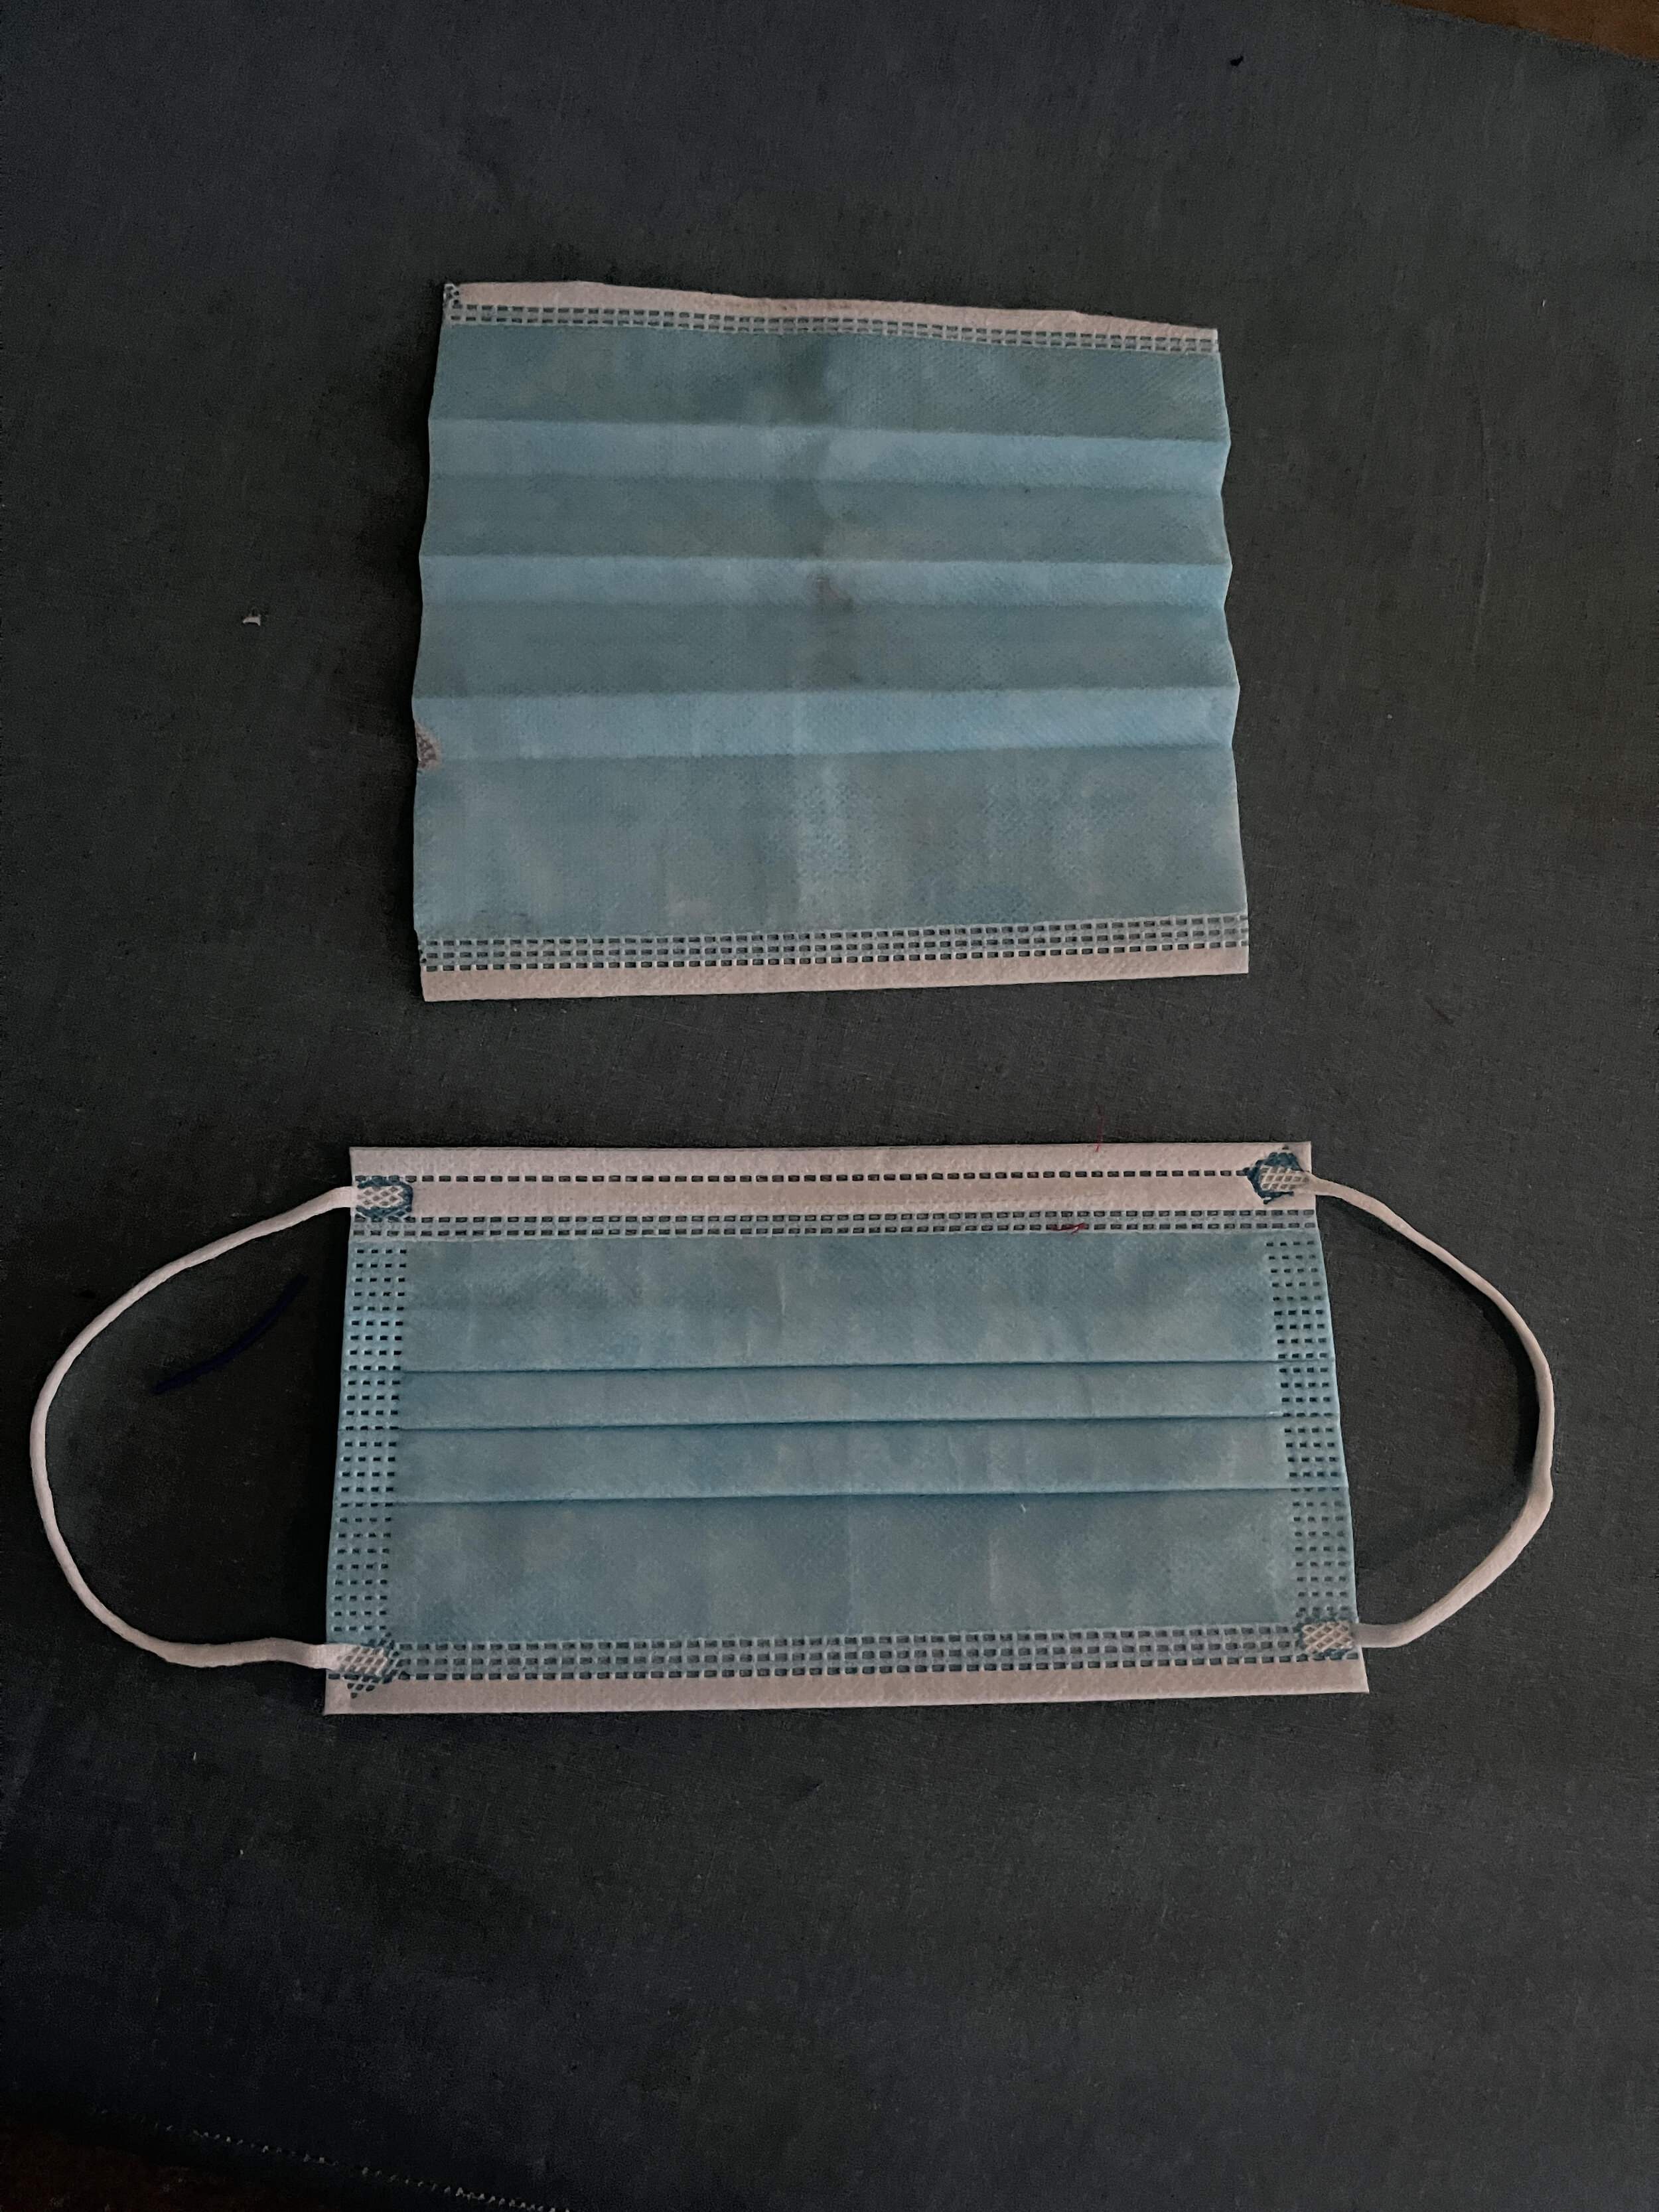


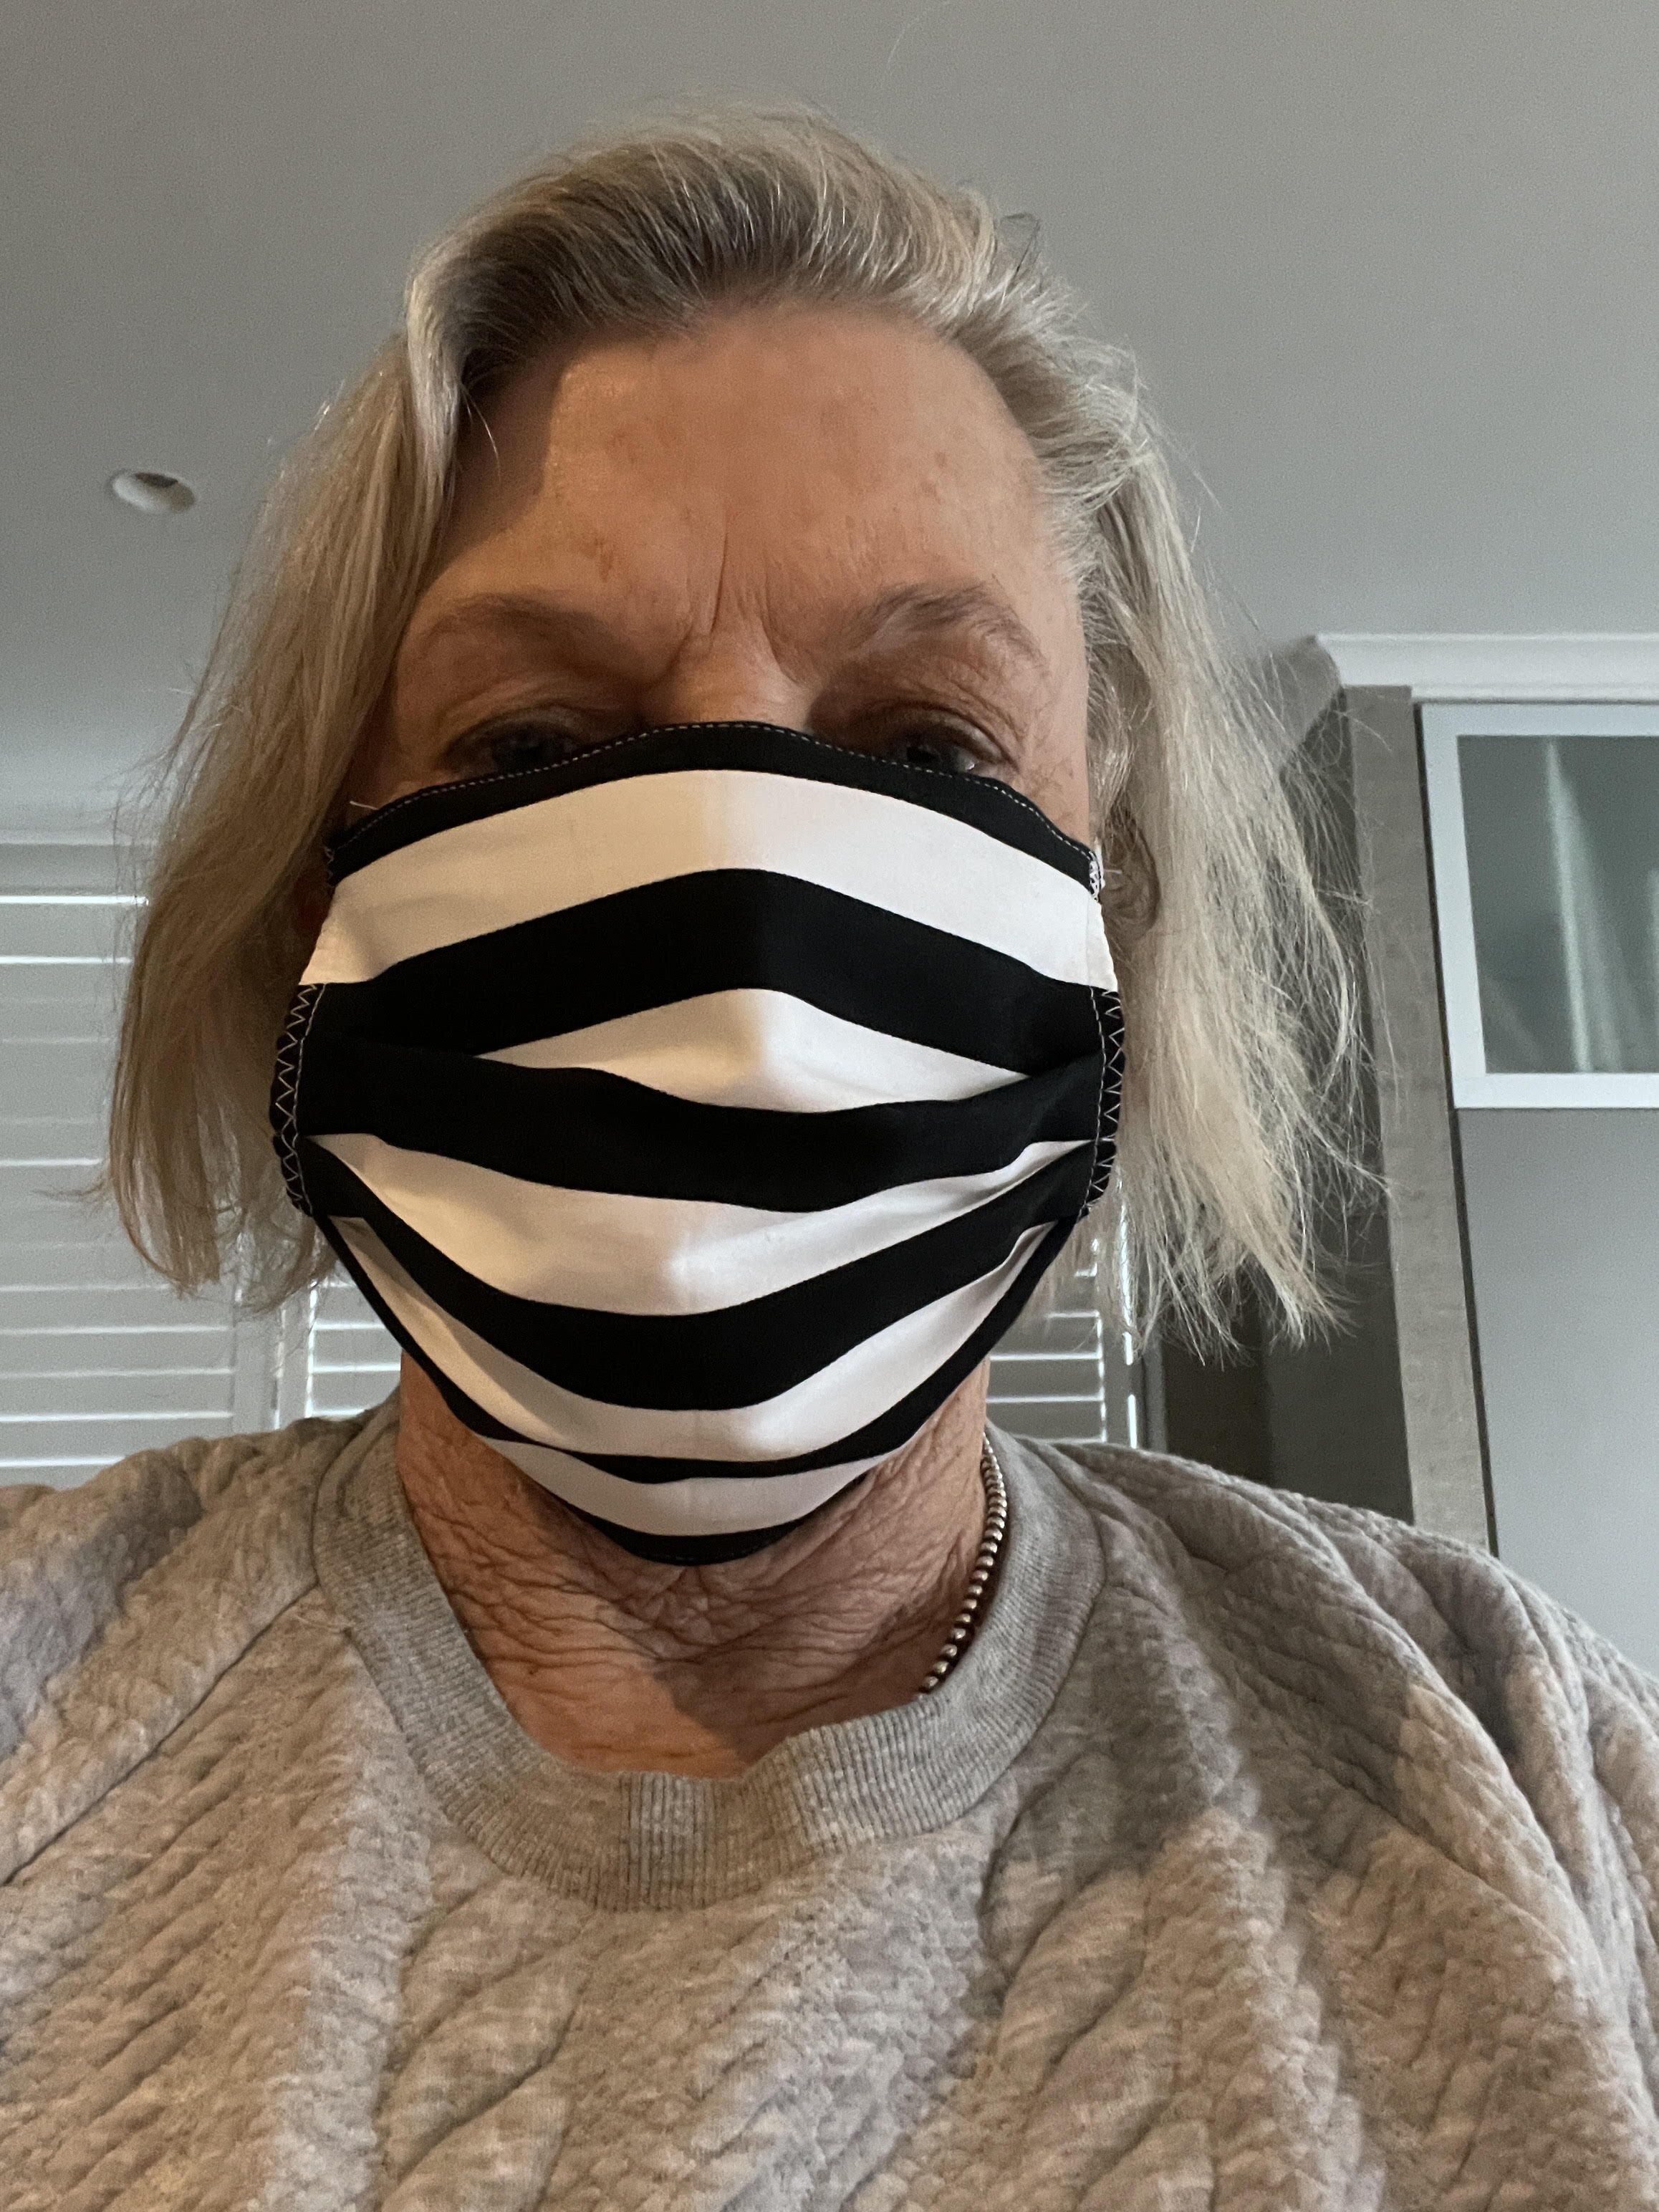

Finished mask.